Sunday 25 February 2024

Say Cheese!

I started a new quilt!  This one is a belated gift for my friend, Sherryl, for her big 0 birthday back in December.  I knew it was going to be late but I was taking my time hoping somehow I'll be able to deliver it to her in Western Australia in person!  I'm still working on that part!


I bought my fabric at Spotlight.  A few of the fabrics looked like this!  The cutting tables have grooves for the scissors so that they can cut straightish lines so how does this happen??


I'm never a fan of following pattern instructions and I usually look at the picture and do my own thing.  This is a different kind of quilt so I'm following the instructions and I can't say I'm enjoying them very much.  There's nothing wrong with them as far as I can see but I'm spending far too long trying to work them out. 

Anyway, here are my fabrics cut out.  Of course now that I've piled everything on top of each other I have no idea what piece is what and when the pattern asks you to use a specific block I have to measure them all to make sure I have the right one.  I'm an idiot.  


The first thing I made was the binding.  Of course.


The pattern has eight drunkards path blocks.  The instructions wanted me to cut out freezer paper templates, iron them onto the fabric and then cut them out.  I only have a scrap of freezer paper left so I put my white fabric onto the pattern and traced it.  I couldn't do that with the black fabric as it's not see through so when I went to cut them out I paired each white block with a black block and cut them both together.


Then I sewed a drunkards path block very drunkenly.  


Oh dear.  Judy has been lying to me all these years saying how simple drunkards path blocks are!


I realised half my problem is that my hand isn't working properly so I'm unable to manoeuvre the fabric to align the edges.  Nothing that a bit of glue can't fix!

They're a lot better.  I don't think I'll be making a whole quilt of them in a hurry!


I followed the instructions and sewed a couple of pieces together in a line and then I had to sew that strip to another piece of fabric and it didn't fit!  I checked my measurements and they're all correct so I adjusted my seam allowance so that I'm not sewing a scant 1/4 inch seam and it went together.

The only problem is I sewed the strip on upside down.  I can see this little project taking me quite some time to finish at the rate I'm going. I might wait a bit before I book those flights to WA!

Sunday 18 February 2024

Just press the button and it magically quilts itself!

My friend, Joy, did the most beautiful embroideries on her embroidery machine.  I used to wind her up by saying there was no skill involved as she just pressed the start button and left the machine running while she had a cuppa with her feet up.  I knew there was a lot of work involved but it was fun teasing her! Well now I have a quilting frame and a machine with automation and people think I press a button and put my feet up with a cuppa! So let me tell you what goes into quilting a top...

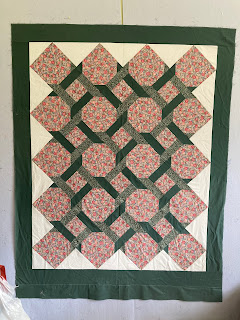
This is the top in question.  Unfinished blocks were donated to Marie for her charity work and Annie loves a good challenge so she stitched them together.  Firstly, I made backing and binding and then I prepped the top.  I like to stitch 1/8 inch around the edge of the top.  If there are seams along the edges they often come undone so I make sure they're fixed.  There's no point in quilting something that's going to fall apart after the first wash!  This quilt had borders so the seams coming undone wasn't an issue but I like to do it anyway so it's like stay stitching a garment and when I'm rolling it on the frame the edges don't stretch or go wobbly.  I also like to add an extra border, which will be trimmed later, to the bottom as it tends to keep the quilt straighter for some reason.  


I then realised I didn't have any large amounts of batting so I ended up piecing one.  This one had nine joins in it!  The quilt police would arrest me for that!  But I somehow manage to keep it pretty flat so it works for me.  So far I've put in around 3 hours of work and it's not even on the frame!  The quilts I make myself don't take as long to prep as I do it as part of the quilt top construction.


The first step was to pin the backing to the top rail of the frame.


I then had to roll and smooth the backing so it was all rolled up on the top rail.


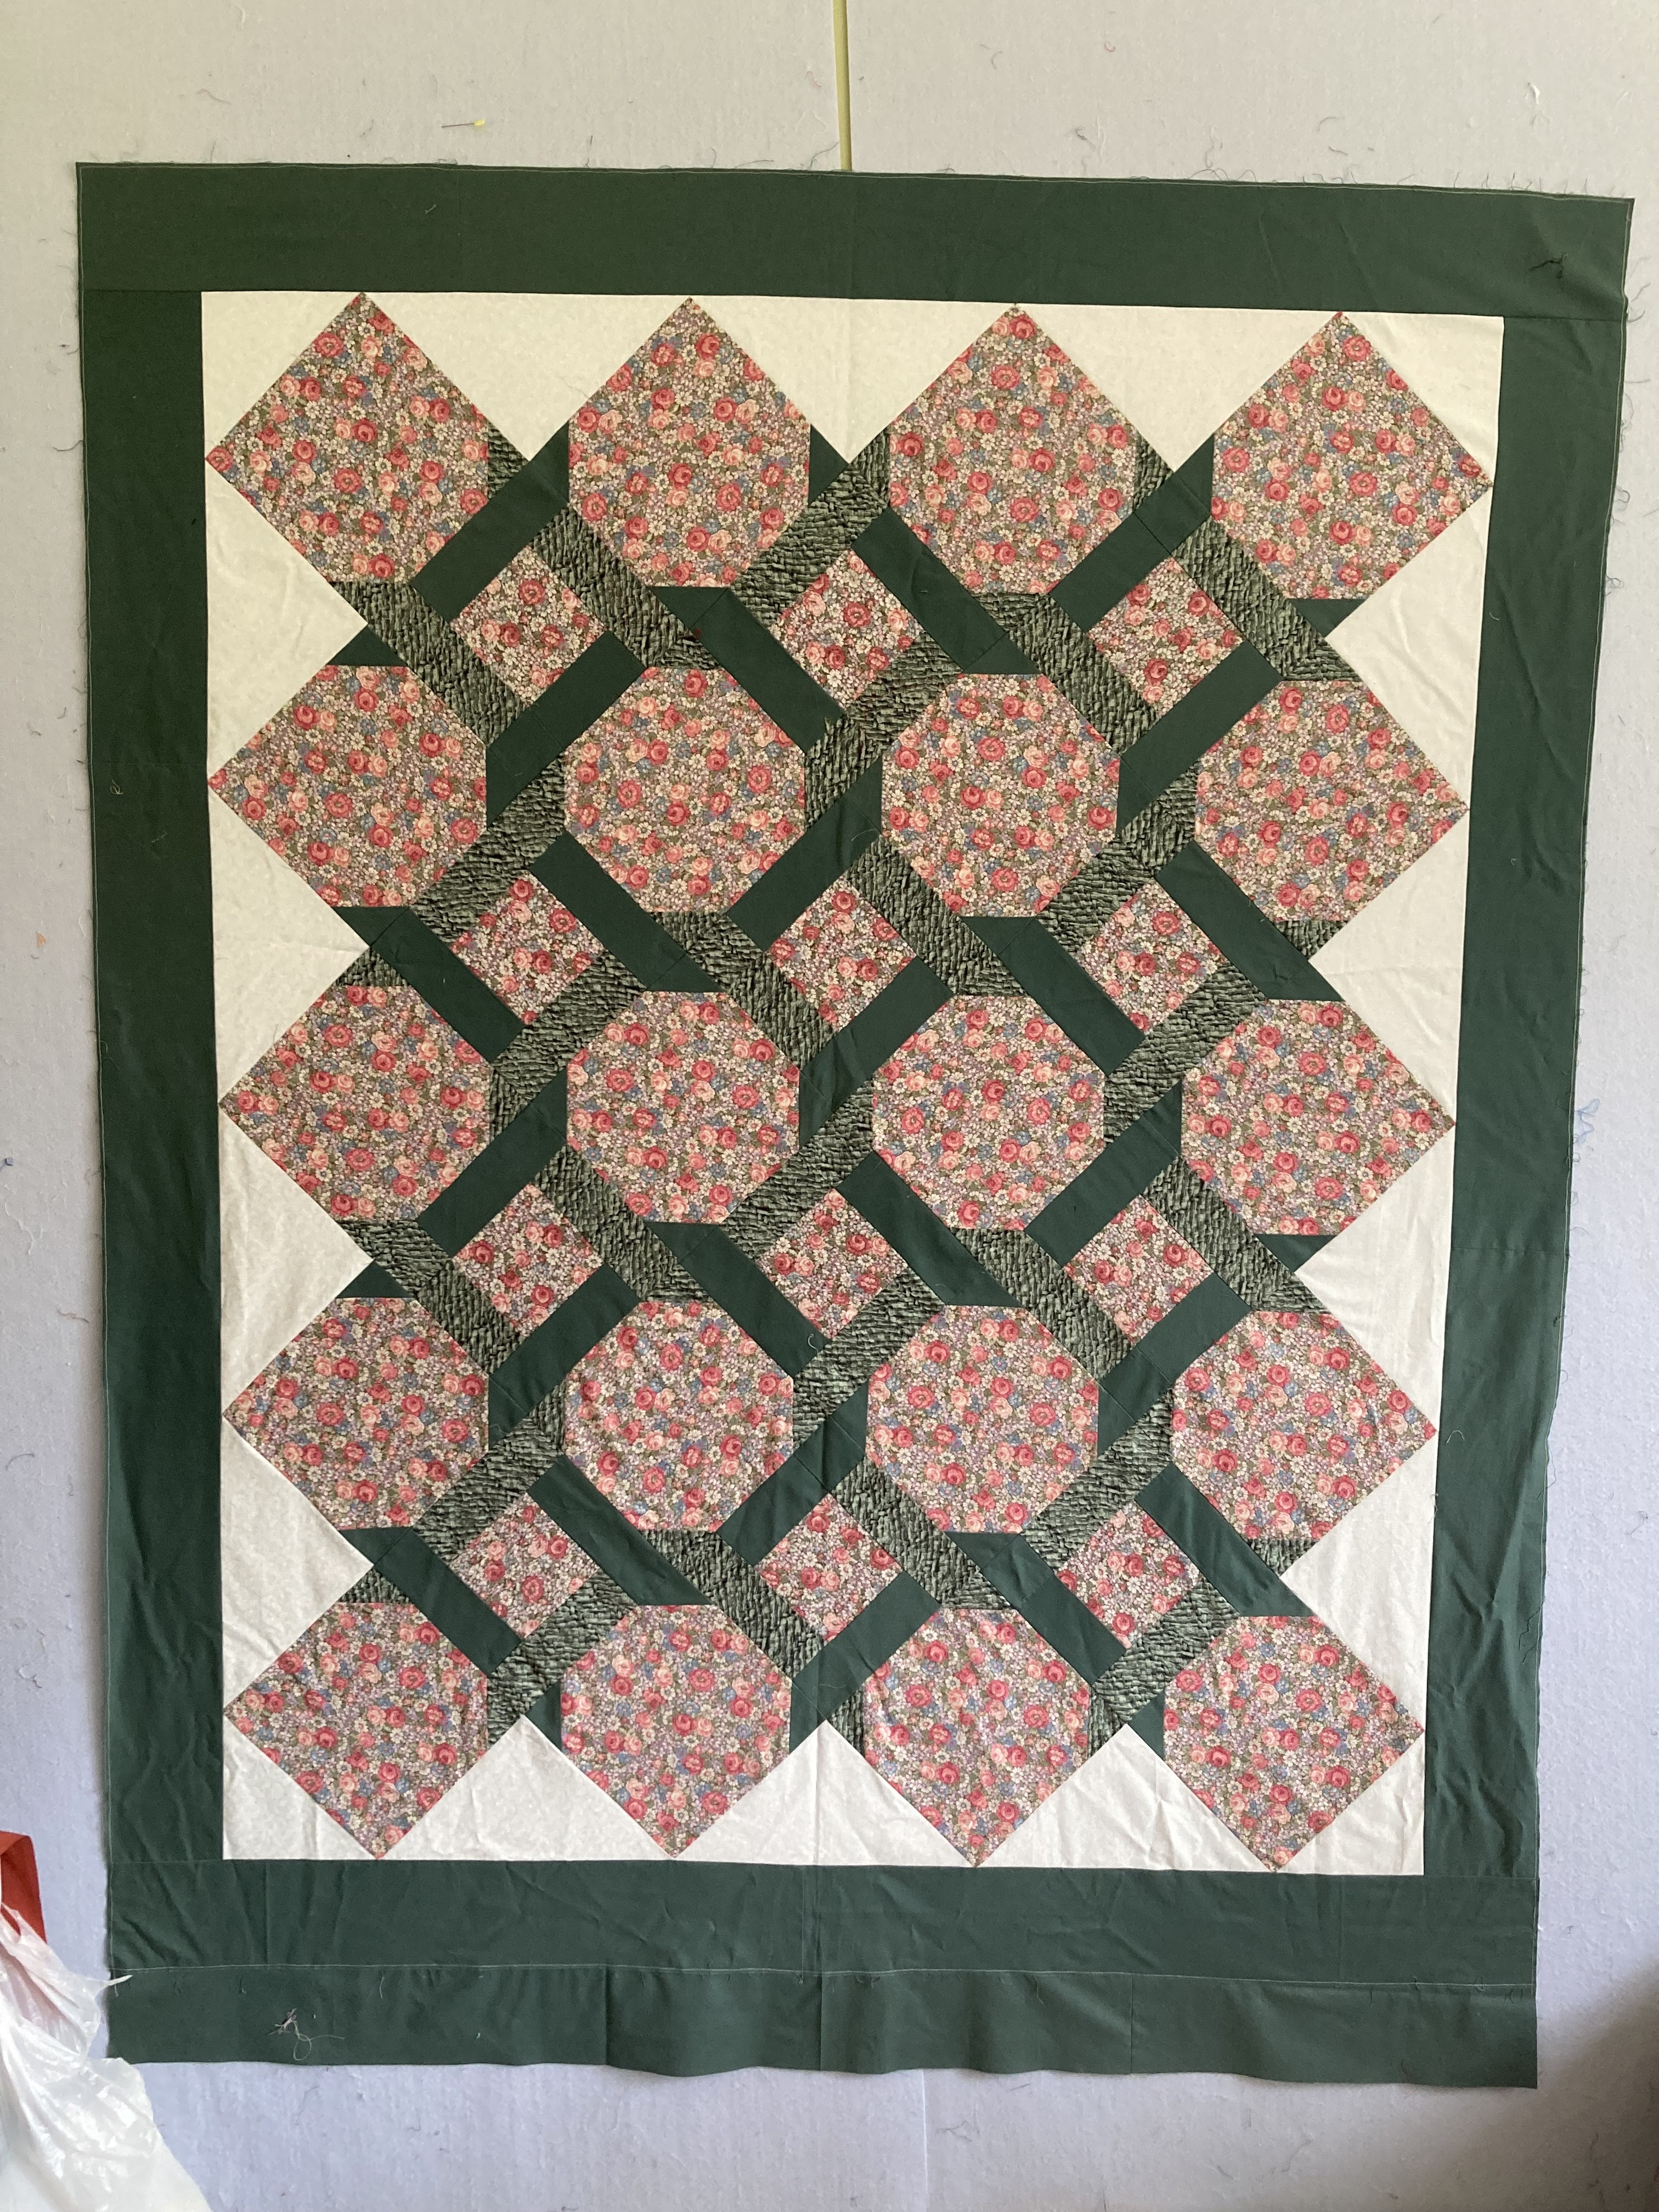
Then I had to pin the bottom of the backing to the belly rail.  I positioned this by eye but if I wanted to keep a backing really straight I'd have measured it carefully on the frame.  It's at this point that I realised I'd messed up and the take up rail was on the wrong side of the fabric!  Oops!  I blame Jill because she was chatting to me at the time ;-)


Thankfully the rail slid out and I easily repositioned it.  After that I had to roll and smooth the backing around the belly bar.  I used to pin the belly then the top when I first started but Lizzy from Grace advised me to do it the other way round.  It does go on neatly but it seems to be twice the work!


I realised that one of my rails was loose so I called Jim to come and fix it.  He fixed it.  Ahem.


Next I laid my batting on top of the backing and stitched a straight line across the top.  I used that straight line to position the top of the quilt so it was nice and straight and I stitched that down in the binding allowance.


Lots of things start happening next.  I have to turn on the automation, chose a design, plan the design, pull my hair out, make sure the sides are straight and secured, pull my hair out some more and then...I press the button and it magically quilts itself!  Kind of.

Years ago my quilters group had a quilt show and the lady we invited to judge the quilts was really impressed with the quality of our quilts but told me that she was disappointed that so many of them had loose threads and pet hair on them.  She was particularly annoyed with the threads the professional long arm quilters had failed to bury and trim so I make a point of checking the top for threads as I'm smoothing the quilt and during the quilting.  The funny thing is that lady has now ruined quilt shows for me because all I can see are loose threads and pet hair!  

This top didn't have many loose threads and most of them just pulled out.


I chose a design called Pansies.  It's a free design from Urban Elementz.


While the machine is doing it's thing I check for those loose threads, hope my thread doesn't break or my bobbin thread doesn't run out and I routinely push the encoder connections into the machine because they work themselves loose all the time.  If they aren't connected I end up with giant long stitches so it's better to keep an eye on them rather than fix the stitching when it goes wrong.


I also have to deal with the automation deciding in all kinds of weird and wonderful ways that it doesn't want to work.  This particular pop up is telling me that the machine is not connected to my automation.  I press retry enough times and it usually decided it is actually connected after all and just wanted to annoy me.


The machine quilts in rows and after each row I had to roll the quilt up, smooth the new part down, secure the edges, check for loose threads...

This quilt was kind and ran out of bobbin thread while I was stitching the sides down so that meant there was no repair in the middle of the quilt.  Every time I change a bobbin I have to clean the bobbin case and bobbin area with a brush.  Look at the lint!


I then decided to start cutting out fabric for a new quilt and was punished for walking away from the machine when the thread snapped.


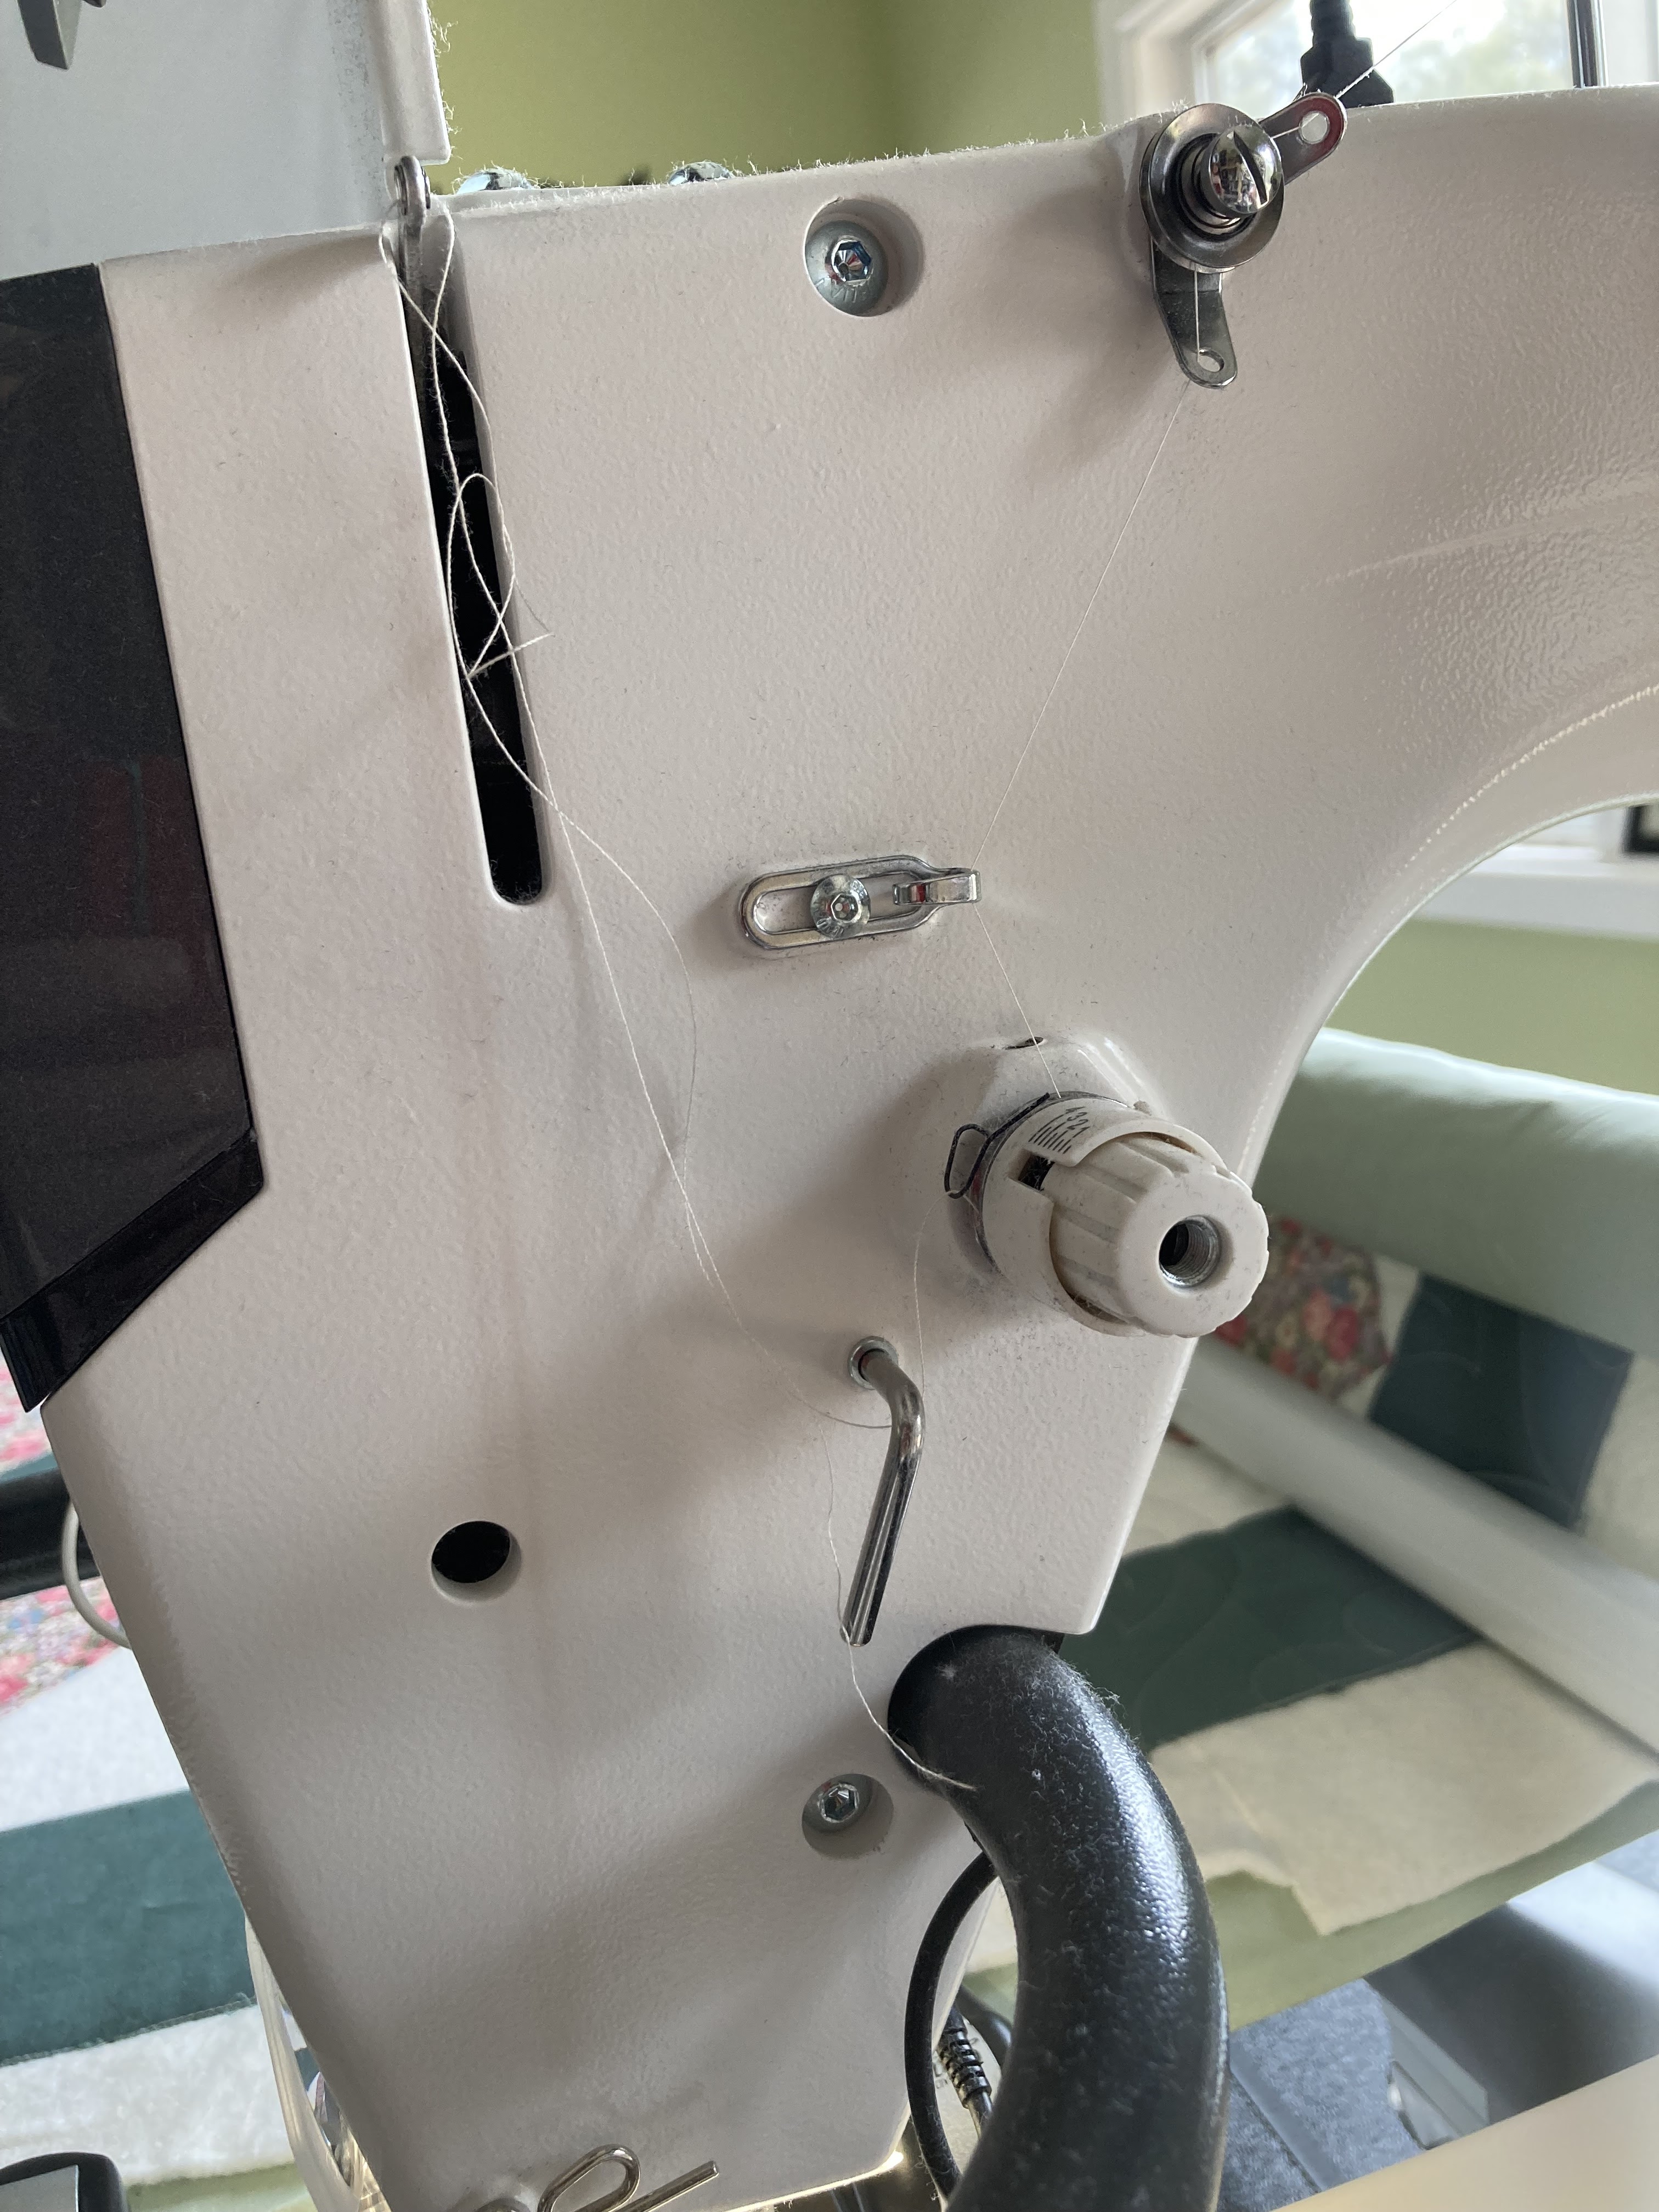
It's a terrible picture but the thread had formed a giant knot in the top guide.  I think the there was an issue with the thread rather than the machine.  Anyway, I repaired the quilting and buried my threads in the quilt and pressed go and went and did some more fabric cutting.  I like to live dangerously.


It takes hours to quilt a quilt but all of a sudden you reach the point where you're on the last row.  It is compulsory at this point to do a happy dance!  I was obviously too happy though because the machine punished me with three thread breakages and then I ran out of bobbin thread.  Arghhh!


And then it's done!  I unrolled the quilt and admired all my hard work.  My faithful hound is just exhausted with the effort!


The quilt is going to hang there until I can muster up the energy to stitch the binding on.  If it's this much work why do I do it?  I love it!  I no longer have to baste my quilts or kill my back and shoulders pulling it through the domestic machine and I'd never in a billion year be able to free motion quilt to a standard I'd be happy with.  Plus I now have the incentive to make more quilt tops knowing I can actually finish them!  I do wish that I could just press that magic button though...

Monday 12 February 2024

Almost there!

I've been working on Erin's quilt doing a little bit here and a little bit there.  Often it looked as though I was never going to finish and then all of a sudden it all came together.  Here is it on the design wall waiting for borders.  I changed my mind regarding the borders several times but in the end went with a simple 2 inch yellow border followed by a wider white border.  I decided to do it this way so that I could use up the white binding I made for the quilt that wasn't.


Pinning backing to the quilting frame can be a mammoth job particularly when the quilt is fairly large.  I pinned the top to the back rail, rolled it all on, smoothed out all the wrinkles and creases whilst trying to keep the fabric fairly even and then I pinned the bottom to the bottom rail and repeated the rolling on, smoothed out...

I stepped back to take a picture...and realised I'd pinned the backing on upside down arghh!  In my defence the backing is a white tone on tone so it was a bit hard to see!  So I unpinned and started all over again!


This is the start of the quilting.  My tablet is having a lot of issues so the quilting didn't go as smoothly as I'd have liked.  I also tried out a new for me technique to keep the quilt top square which slowed things down.  I liked the technique so I'll use it again with some modification.  What I particularly liked was getting to the last row and the quilt edge was perfectly straight!


I planned on using a flowery quilting design but I just didn't like anything up against the stars so I went with circles.  It's probably not ideal but it's better than flowers!  At one point I was tearing my hair out trying to come up with a perfect design I even thought about quilting lizards all over it!  Erin likes lizards!  Thankfully that thought lasted all of five seconds.


Here it is all quilted and unrolled from the frame.


Binding next!  It cracks me up seeing this picture of my beautifully neat rolled binding.  It makes me look so tidy and organised!


And my least favourite part!  I had a marathon hand sewing session today because it's the only time this week that Erin is working in the city.  I'm pleased to say it's almost done!  It was rather warm underneath that quilt today!  Phew!


I'll be working on the label next.  I will actually finish this in time!  Yeah!


Saturday 3 February 2024

Panic! Don’t panic! PANIC!


I don't like to sew my quilts in strips so I sew them in blocks.  That way I end up with only one long seam to sew when I sew two halves together. So, here's my first block.  It's taking forever.  Start panicking!


Oh ok it's coming together.  This is the smaller half finished. Stop panicking!


My injured hand decides it doesn't want to work which makes it very difficult to grasp the fabrics together to pin but it's going ok.


Then I went away for the weekend with my family for my husband's birthday and we had a great time! 
I came back and added to the quilt.  It's going slow but it's ok.  Then I made the terrible mistake of counting how many stars I had left to do!  Yikes gadzooks!  (As my mother would say.  I'd say something a little more colourful) I have eight stars left to sew.  Which means I have a whole third of a quilt to finish!  And that doesn't include the borders, the quilting or the binding!  I have 11 days to finish it!  PANIC!!!!


We also had a second birthday celebration for my husband so that our grandsons could join in. Just call me the Queen of Procrastination!


I'll go and do some more piecing very soon.  Oh!  Is that a pig I see flying past the window?

Reorganising my sewing room

Judy and I have separated and are going our own ways.  I begged her to stay but she told me that her quilting frame was of more use at her h...