Monday, 3 July 2023

A finish at last!


 Phew!  It's been a while since I posted which is kind of funny seeing as I had planned on posting twice a week originally ha ha!  And it's been a long while since I had a finish! Many years ago I went to Spotlight and hidden away in a corner was a stash of packets of these quilt kits. They'd obviously been around a while as the packaging was torn and they'd been reduced in price several times.  I don't believe I'd ever bought a kit at that point and thought I'd give it a try.  Now I wish I'd bought the whole pile of them but never mind. The kit included the fabric for the top and the binding plus an acrylic Dresden template.


I made the top fairly soon after I bought the kit and basted it because I decided that I wanted to hand quilt it with a cross hatch design using embroidery floss.  This, of course, explains why this is such an old UFO.  Hand quilting ha ha ha ha ha!  In what lifetime was I ever going to do that?!


Years passed and I bought a quilting frame and I searched my studio for a project worthy of being the first to do on the frame.  I have plenty of tops to choose from.  I had lots without batting, others without backing and then some without the right thread.  This is starting to sound like Goldilocks and the three bears!  But this one was just right.  Ha ha!  I unpicked the basting stitches and did a bit of work to get it ready for the frame and then I thought I'd be really clever and design my own digital quilting pattern for the Dresden blades.  The plan was to do some fancy design in the blade and something else in the circle and then an all over circle design over the rest of it with a repeat of the design in the Dresden centre randomly placed within a few of the background circles.  It made complete sense to me!

This is the design I came up with for the blades.  I was so pleased with myself when after watching a billion videos and with much trial, error and swearing I managed to draw it in pattern cad.


Then I was stumped because I couldn't place my design in the right position.  I almost threw in the towel but I came up with this template to help me position each design on the blade using four points.  


Ta da! It worked!  Well, kind of.  After doing all that work I realised that it was going to take forever to position then sew each blade and for each blade I'd have threads to bury which I'd happily do if the design didn't fade into my fabric!  It was definitely not worth the effort! So I unpicked it and did an edge to edge!


My least favourite part.  Hand sewing the binding.  


And finally after all that chatter here is the finished quilt!  I did crop it to remove my feet from the picture but the original uploaded so I'm going to leave it as it tickles me!


Here's a shot of my quilted bubbles.  It wasn't quite what I expected but it worked out in the end.


So what's next I wonder?


Wednesday, 22 March 2023

Ballarat retreat

 Judy, Kate and I went to Ballarat for the weekend for our quilters retreat.  We stayed at a lovely characterful Airbnb house with three bedrooms, plenty of comfy seating and a dining table we could sew at.  There was a hatch between the kitchen and the dining area and we were able to use that for our cutting mats.

I went with Judy and we met up with Kate at Millrose Quilting & Gallery where Judy was delighted to find some shot cotton fabric remnants for sale.  We paused for a hot chocolate and a cake and to take a picture to show Kay what she was missing out on!  All retreat pictures were taken by Judy.


We went an interesting way to get to Gail's Patchwork Emporium as Google decided we needed to go the scenic route which was very exciting!  Gail's as always was chock-a-block with fabrics and Judy scored some $10 a metre fabrics to make into backings.  

I wanted some Morris & Co Kelmscott fabric by Free Spirit for table mats but decided in the end that I'd need too much if I was going to fussy cut and then by the time I'd hidden them underneath the plates they'd be a very expensive purchase.  But the fabric is so lovely!


We then stopped off at Beechworth bakery for a delicious pie and some fresh cream cakes. I am obviously delighted with my cake that I'll be saving for afternoon tea.  Kate is more laid back because she has eaten her cake already!
 

After lunch we went to Eureka Patchwork and Elisabeth has done an excellent job of selling a whole heap of fabric on online de-stash sites which was brilliant for her.  Judy picked up a few bits and pieces but Kate and I just had a look this time.

We arrived at the Airbnb and set up our machines etc.  I'm fairly sure the first bottle of wine was opened soon after!  

Judy is making the Mistletoe Quilt by ZenChic and she prepped all her blocks ready to blanket stitch the appliqué shapes.  There were rather a lot of them!


Kate swore she wouldn't be doing any more work on the clamshells on her Oakhampton Quilt and then swore because she did some!


I started making a Happy Birthday bunting banner using scraps of fabric.  This project has been on my to do list for years and I thought it would be the perfect easy thing to do at retreat.  Before retreat I stumbled across a video showing how to pull the points out when you turn your fabric through and I was so excited to try it but I got confused and spat the dummy so used my trusty pointy stick to prod them into place instead.


The weather was gorgeous so I went outside in my pyjamas for a bit of sun.


Ta da!  I finished my bunting!


And it did me in!


We had a lovely weekend and can't wait to go again!  When I arrived home I strung my bunting up and hated it!  The white bias binding string was messy and see through and it just looked awful because where I was hanging it you can see the back of the bunting. So I unpicked it!


I redid it using the dark grey fabric I'd used on the letters and it turned out much better!  The banner had it's first showing for my son Jâc's 23rd birthday.


I didn't want to throw the scraps of fabric that I'd cut out of the inverted points of my bunting so I made a stillborn baby quilt.  Ooh it looks very wobbly in this picture!  I'll make up a bit of binding then hide it away in a box until I can get around to quilting it.


Monday, 23 January 2023

Christmas card wall hangings

My mother in law in the UK started making us homemade Christmas cards five years ago.  She personalises them with photos I've randomly sent her throughout the year.  You can never be certain which ones she'll choose!  I didn't want the cards sitting in the cupboard so I've been turning them into simple wall hangings and now we get to enjoy them every Christmas.

Here's one of the cards.  My husband and I are in the kangaroos pouch.  It's a picture of us eating ice-cream!


I pull it all apart and trim to a useable size.  This one was a bit tricky because my MIL trimmed the corners but they ended up inside my seam allowance so it worked out.  I added a two inch border, some hanging tabs and joined it to another card.


Here it is with this year's card.  My husband and I hanging on the tree with our grandchildren!  I need to buy another hanger some time.


Here's the one I made before.  Our first card was the caravan one because we'd recently bought a van and were just starting out on our camping adventures. I think I should have pressed the hanging before taking the picture!  


Hopefully we'll get many more of these lovely pieces of artwork/memories.

Saturday, 31 December 2022

Happy New Year!

 I'm off to a great start to my New Year!  Ha ha ha!  But still, at least I'm working on something!


Thursday, 22 December 2022

Santa sacks

My daughter, Nicky, has recently moved into a new house and needed Christmas items so I decided to make her family Santa sacks. I found this lovely red and cream fabric range at Spotlight fairly inexpensively.


When I laid out my first piece of fabric for cutting I noticed it had cuts in it!  I was very disappointed and I was worried about the other fabrics but it turned out to just be on this piece. As I was making this pattern up as I went I cut around the cuts in the fabric and that was how I determined what size the bags would be.


These are basic lined drawstring bags.  I wanted them lined because I like the tidy look.  Once I stitched the lining and the front together I had to work out where to do the string channel.  I originally decided to do the channel 5 inches or so from the top of the bag and although I would have liked the look it's a waste of space inside the bag.  This needed to go near the top edge for maximum toy storage!


I then started making the string for the bags with leftover lining fabric.  I have these nifty turn through tools which make it easy but in the end I thought it was way too much work so I bought extra long shoe laces.


Which I tea stained!


I embroidered all the names.  This one is for another family I didn't get around to making bags for in the end.  But there's always next year ha ha!


I wanted the name tags to look like luggage tags.  I put the embroidered side and a patterned fabric right sides together and stitched them leaving a hole for turning.  When I went to turn them one of them didn't look quite like the others!  Oops!  Because I'd trimmed the corners I had to carefully resew that one.


And here is a finished bag.  I inserted the end of the laces through a buttonhole in the luggage tag.  


Four bags ready for labels.


I decided to fill one to see what it would look like.  I put a rolled up single doona (duvet/comforter) inside and there's plenty of space left in it so I'm really happy with the size!  I put it next to my fireplace to photograph and captured Minnie in the glass!

Sunday, 18 December 2022

The stockings were hung by the chimney with care

But I’m in no rush for St. Nicholas to be here!

We came to Australia with very few belongings and as our house in the UK hadn't sold yet we had very little money.  We moved into a rental property and shortly afterwards one of our neighbours posted a note in the mailbox advising us that the neighbourhood we'd just moved into went all out for Christmas and drew large crowds.  We had no money and no furniture but we had to decorate for Christmas?!!  In the end we bought a fake Christmas tree, threw some lights on it and sat it in the curtain less window for the crowds to "admire".  I also bought several metres of red, green and cream polycotton and made us all very basic stockings.

I replaced those six stockings when I wanted to do something to use up my scraps and orphan blocks and, over the years as the family has grown (or decreased!) I've added more stockings.  As I hung all eleven stockings yesterday my first thought was that I'm going to need a bigger fireplace in future!


I try to make each stocking different.  I guess the joy of quilting means that I'll never run out of ideas at least!  I decided that the latest two stockings would be a PLUS style and a hexagon style.  I thought that the plus design would be easier than it turned out to be.  My brain really struggled to work out what went where but it won't put me off making a plus quilt one day!


I carefully laid out the hexagon shapes and took lots of photos for reference but I still managed to sew them in the wrong orders!  


Hand stitching hexagons probably wasn't the most sensible idea to do with a dodgy hand!


I had to keep checking that I'd sewn enough hexagons to fit my pattern template.


I finished the stocking fronts and quilted them simply and then sewed them to make the finished stockings.  It's at this point when you've sewn it all together and are just about to turn through that you start to worry that you may have sewn everything in the wrong order and you'll end up with the hanger or the cuff inside the lining.  But. PHEW, I did it right.


I had a couple of helpers while I was sewing.  These beautiful greys are my dog, Minnie, and our Christmas foster, Hugh.


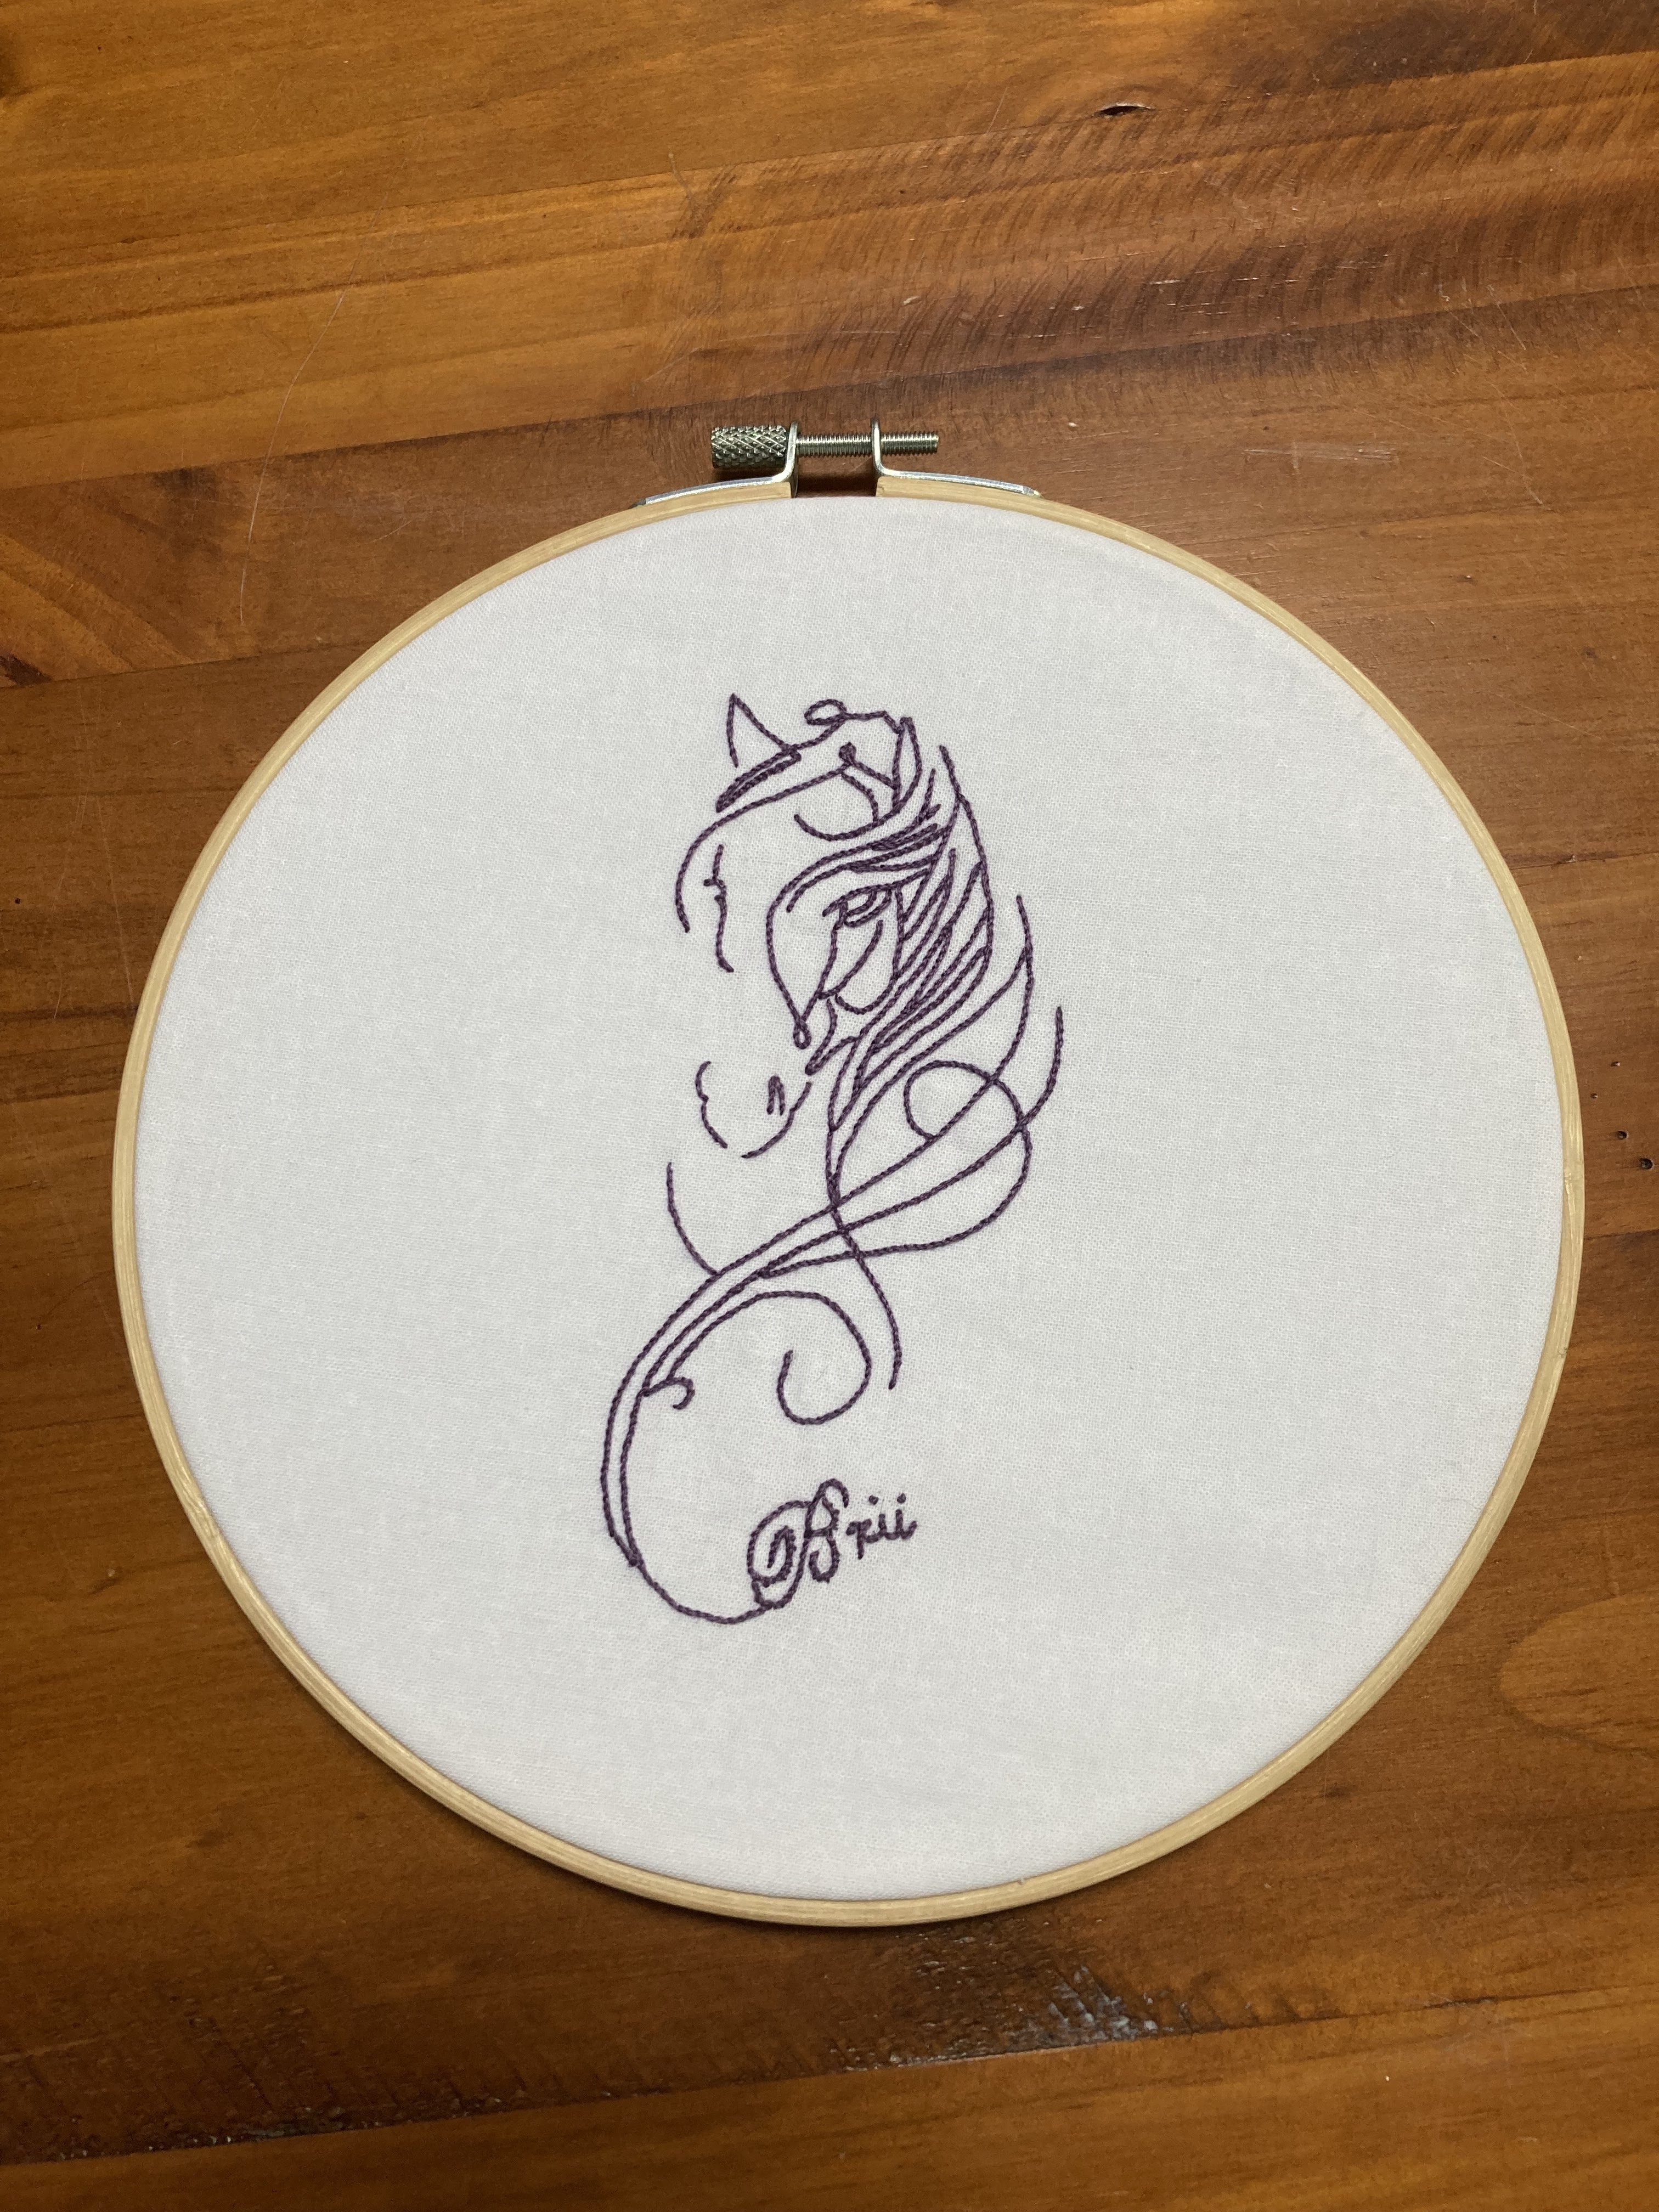
I also started embroidering a gift.


And framed it inside an embroidery hoop.  It's been a while since I use a hoop to frame and I messed it up several times but I got there in the end.


I'm currently working on some Santa sacks.  Let's hope I finish them before Santa starts making his way down the chimney!

Wednesday, 16 November 2022

It’s been a while!

In my last post I was talking about going to retreat. That lovely weekend ago seems like years ago now!  After showing you my poorly displayed shirt challenge quilts I decided that I should take some quilts to The Retreat so I could put them on the beds there at Abbe’s tidy, lovely house.  Judy and I arrived first so we could do this without inconveniencing the other retreat ladies and Judy ended up doing most of the work.  I just took the pictures!

I had a fantastic time and just pottered a bit with my sewing but that was fine.  After taking all the quilts on the beds pictures I didn’t think to take any more of what everyone was up to!  I came home and looked at my photos and couldn’t believe what I’d taken!

Here is the picture I took to send to Kay to show her what she was missing out on by not being there.  It’s a delicious German potato salad I plan on making again.  And again.  You can find the recipe here


And for some reason the only other picture I took was of Gail kneeling on her quilt! The quilt on display on the wall and the cushions were made by Abbe, the owner of the retreat.


I’m just going to show you one of the quilts I brought to take pictures of or this will be a very long post. Here’s Judy working hard to perfectly drape and smooth my quilt on one of the beds in the master bedroom.


This quilt was a kit I bought from Connecting Threads that I called my retreat quilt because I only worked on it at retreat.  Several retreats, in fact!  I bought the kit with Christmas or birthday money from relatives in the UK as it’s an almost instant way of saying “Look what you bought me!”.  Far better than not spending the gift and it going towards paying the power bill!


I quilted this one on my small quilting frame using The Grace Quilting Company’s Plastic pattern perfect which was a lot of work but I loved how it ended up.


I’ve had a bit of success with fixing my hand injury this week so I’ve been thinking more and more about sewing again and have been working on some Christmas projects that I hope to have finished very soon.  And, of course, I have the other displayed finished quilts to show you so you should be hearing from me very soon!

The star is quilted!

I loaded the star quilt onto my frame and chose a simple all over design.  I probably should have made it slightly more dense but I do like ...